
Managing Photos and Files in a Work Order
In this article, we will guide you through the process of selecting the appropriate service for displaying uploaded photos or files in a work order. By assigning the correct service, you can ensure that these attachments appear in the relevant section of your work order.
In this example, we will use the service "Siding and Gutter" as the designated service for the client.
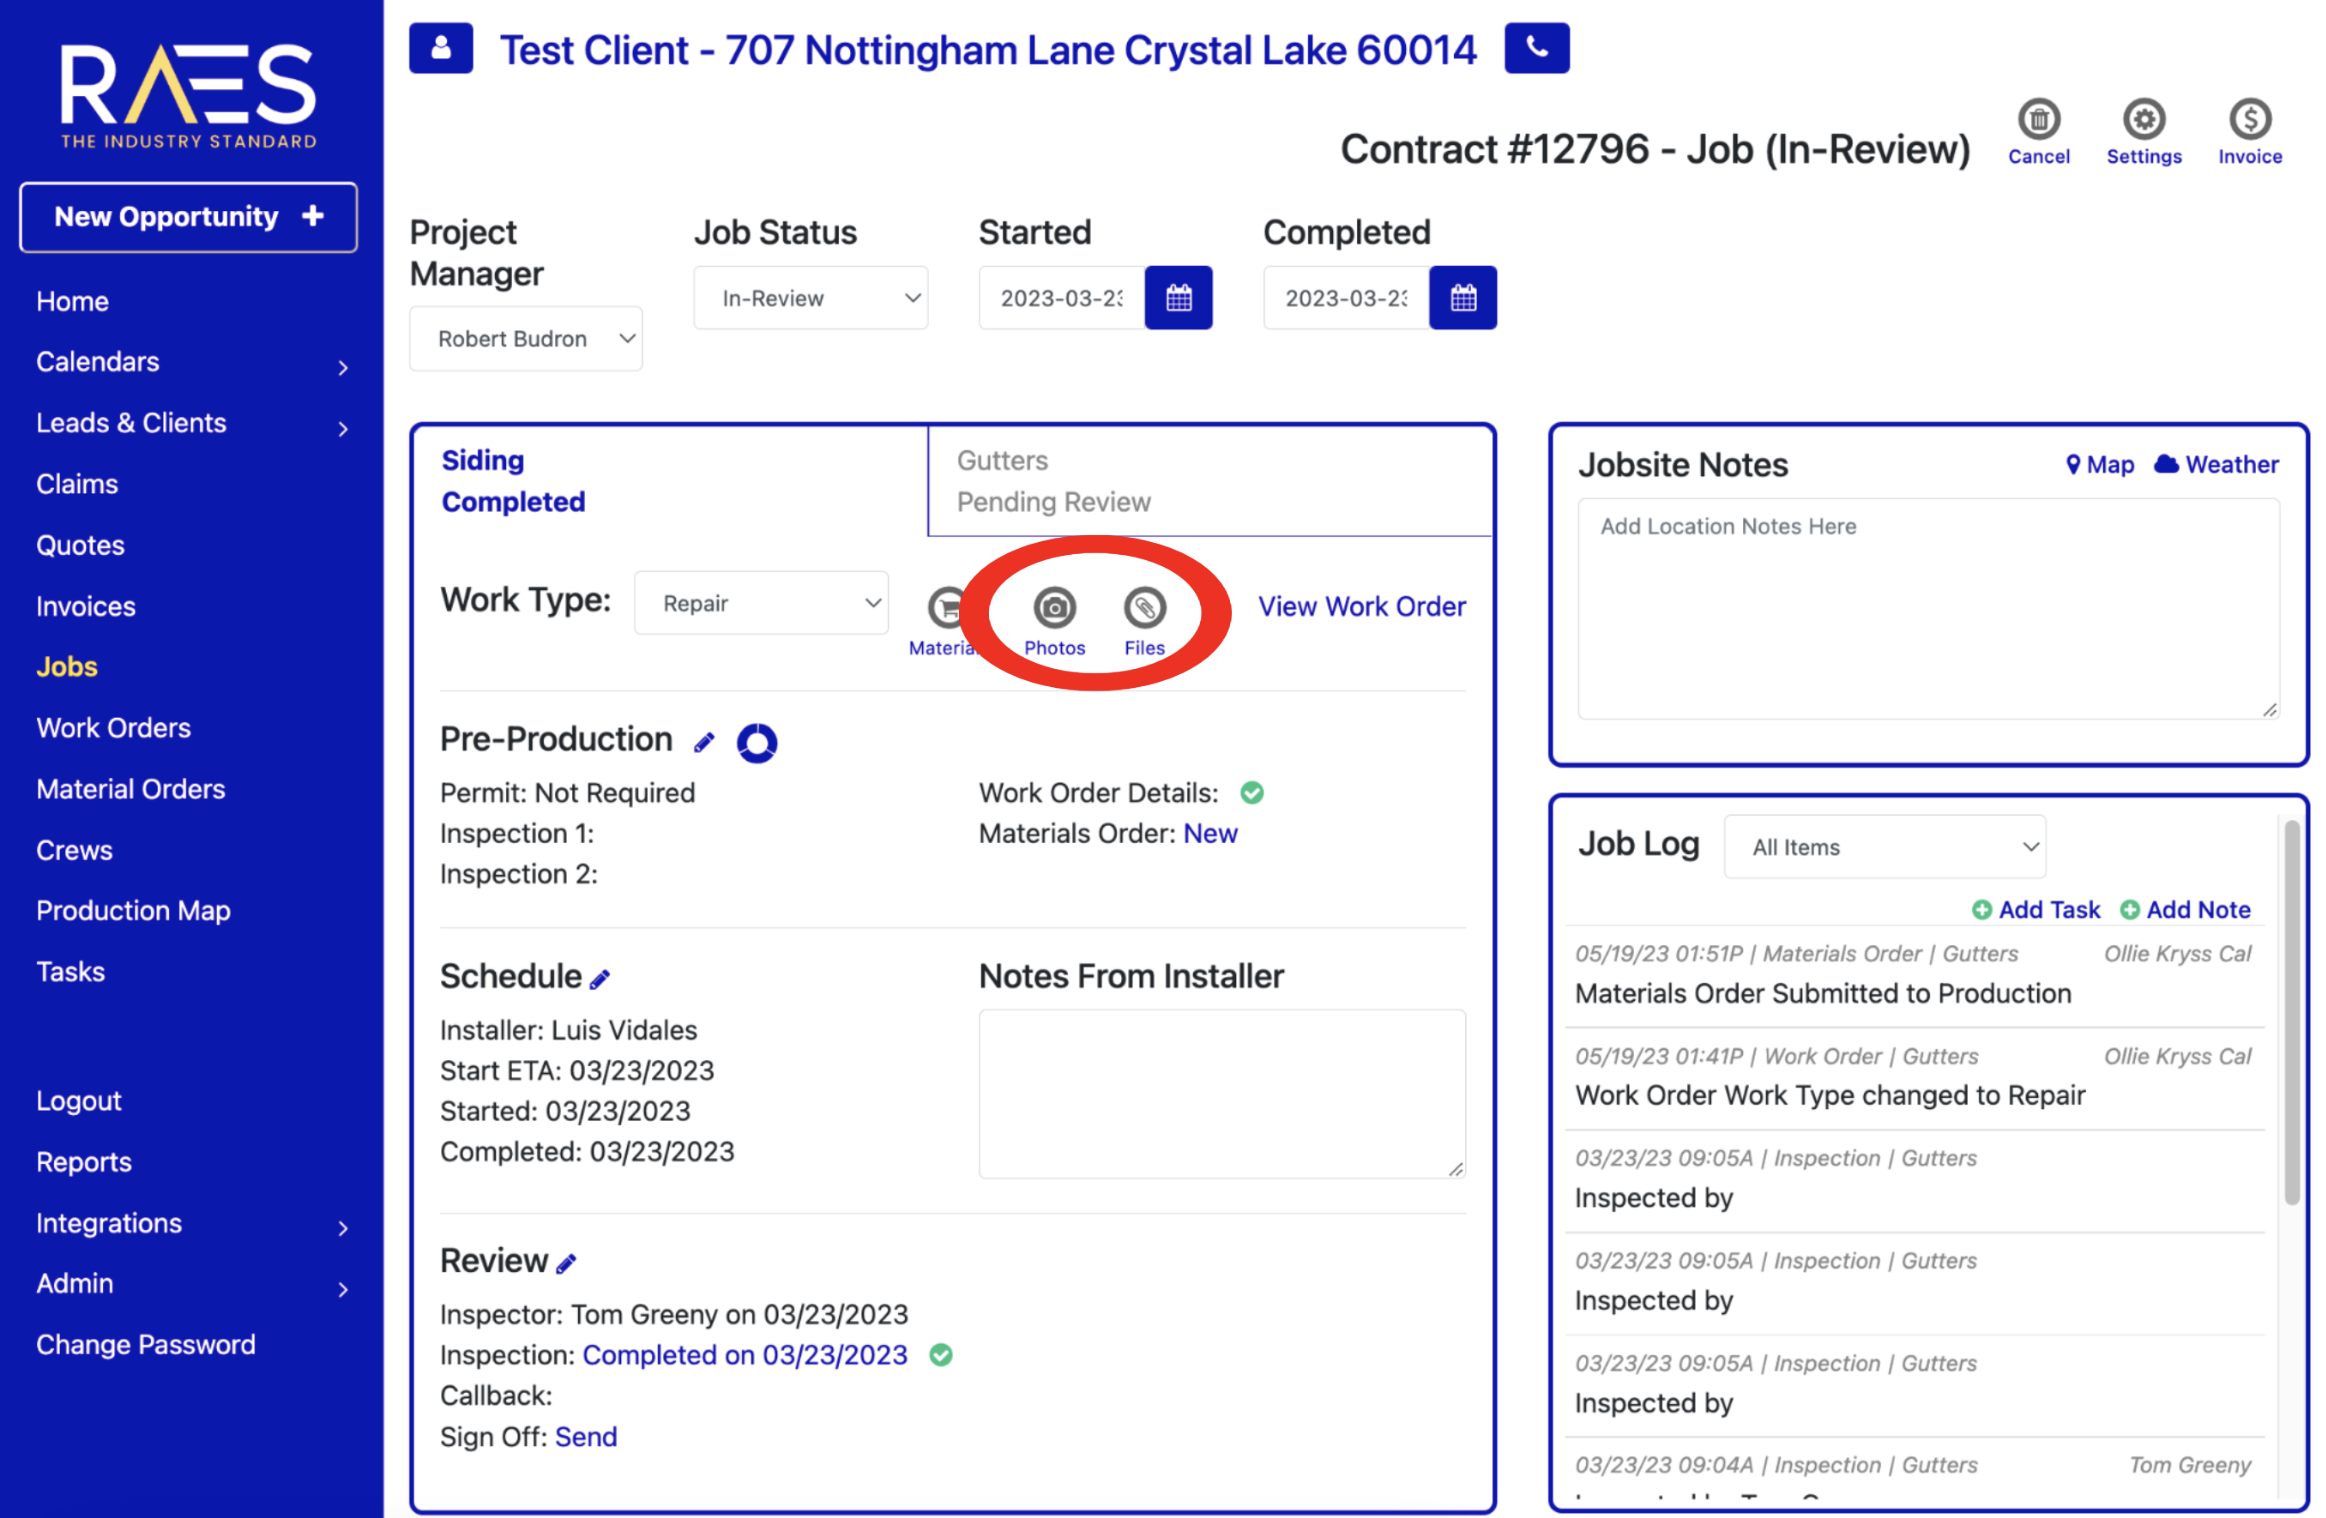
- Begin by accessing the work order that is to be managed.
- Click on the photo or file icon.
- Click on the upload button to select the desired attachments from your device then follow the prompts to complete the upload process successfully.

- Once you have uploaded the photo/file, you will see options displayed below each photo or beside each file. These options allow you to select the desired location where you want that particular attachment to appear.
- By marking this service, the photo will appear on your specific chosen work order.
In this specific example, the "Gutter" service is selected from the available options. When you mark this service, the photo or file will be linked and appears to the designated service on your work order.
Note:
- If the photo or file is not visible or misplaced, double-check the assigned service and repeat the selection process if necessary.
- Remember to select the correct service, such as "Gutter" in this example, to ensure the seamless organization and accessibility of your work order.

